Power Automate emails will send email from the mailbox of the account that owns the Exchange connection in the flow by default (meaning if you own the connection, it’ll come from your user account).
If you want your flow to look more professional and keep all of the messages “together” in one centrally accessible place, you can use a shared mailbox to send the automated email notifications!
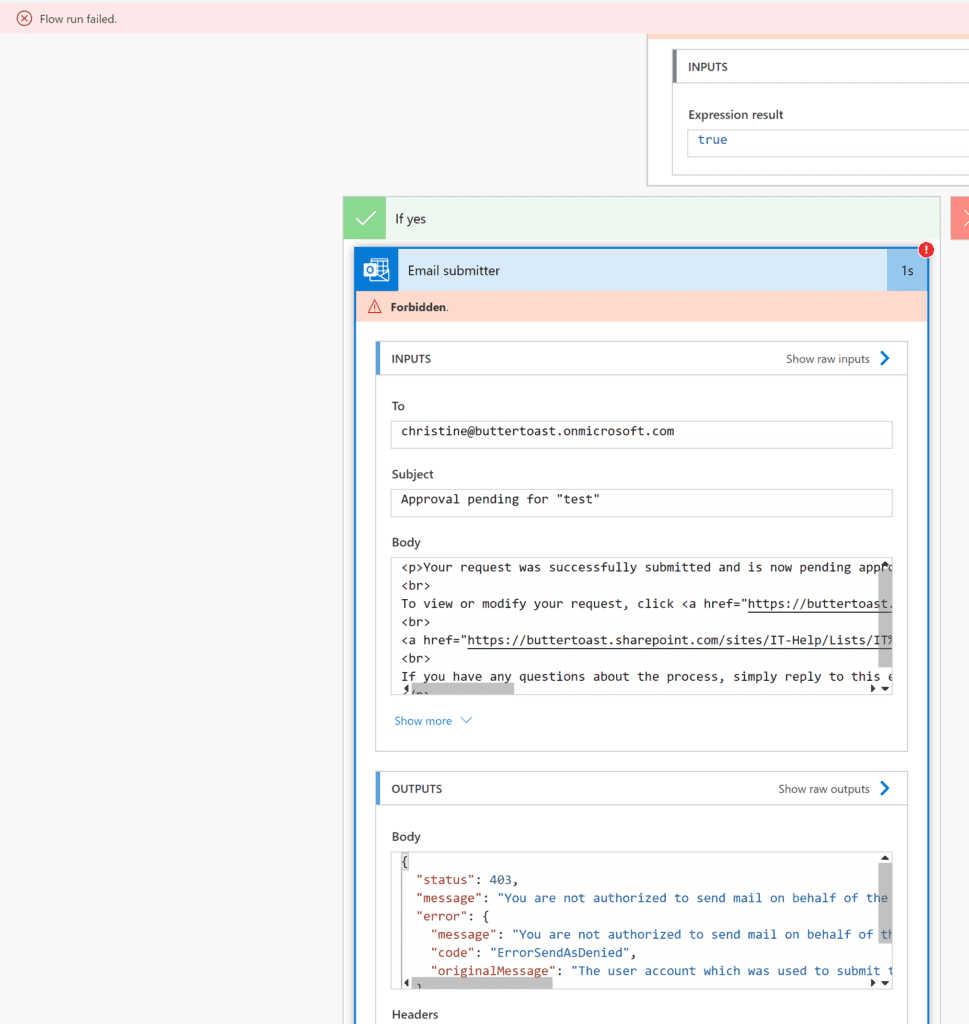
There is a field specifically for this purpose in the “Send an email v2” card action in Power Automate. However, you need to jump through some permission hoops first before you can use this feature. If you try to skip this step, you’ll run into the error:
“status: 403, You are not authorized to send mail on behalf of the specified sending account.”
To add send-as permission on the shared mailbox, you need to be an Exchange administrator at a minimum – meaning if you’re not on an IT team you’ll probably need to ask IT. On the bright side, it’s a one-minute fix. I have this full tutorial available as a video on YouTube as well, but below are written instructions for adjusting the permissions for the shared mailbox to be able to send-as.
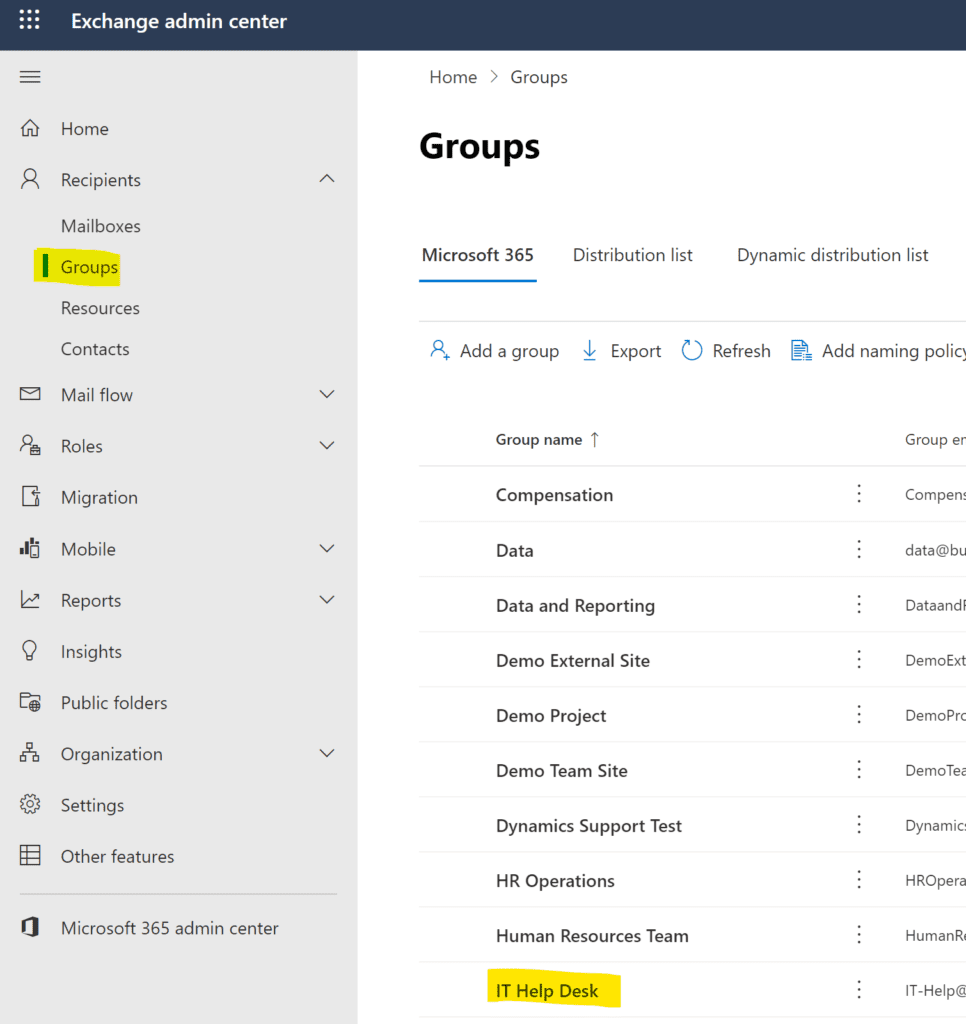
To add permission for the mailbox, go to the Exchange admin center (https://admin.exchange.microsoft.com/). If the mailbox is part of a M365 Group (if you’re following the tutorial on setting up a request system in M365, this is you), open up Groups on the left side. If it’s not part of a group, use Mailboxes. Then click on the name of the group you want to modify permission for.
This will open up a dialog box – choose the Settings tab.
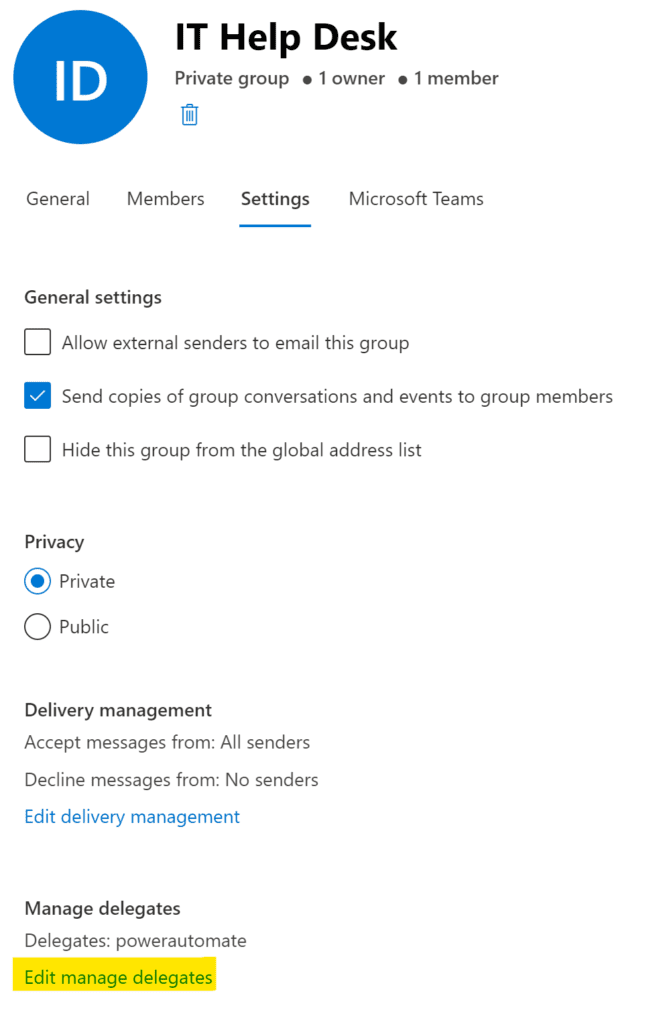
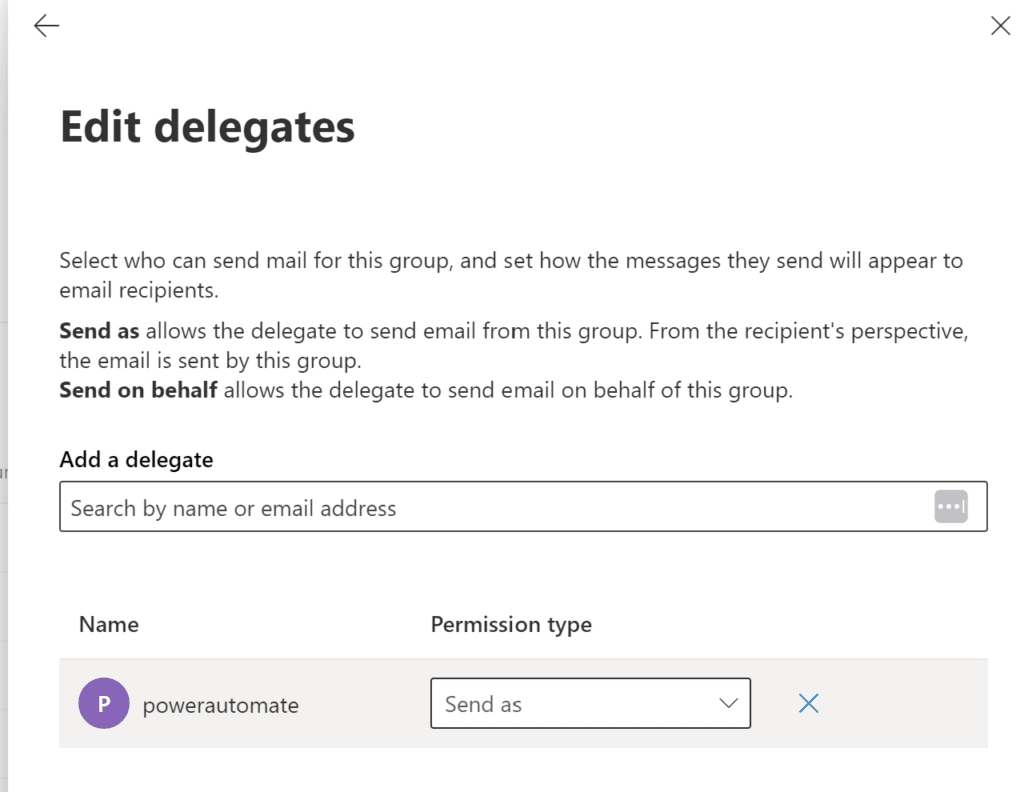
Click on “edit manage delegates” at the bottom here and give the user running the Power Automate connection (hopefully a service account) permission to send-as. The difference between send-as and send on behalf is that send on behalf will literally say “so and so on behalf of <shared mailbox name>” instead of looking like it’s coming directly from the shared mailbox. I prefer send-as here.
While you’re in this settings pane, you might also consider toggling “send copies of group conversations and events to members” to on. This will let members get the messages directly in their main inbox instead of checking a separate box. They can opt out individually if they want to.
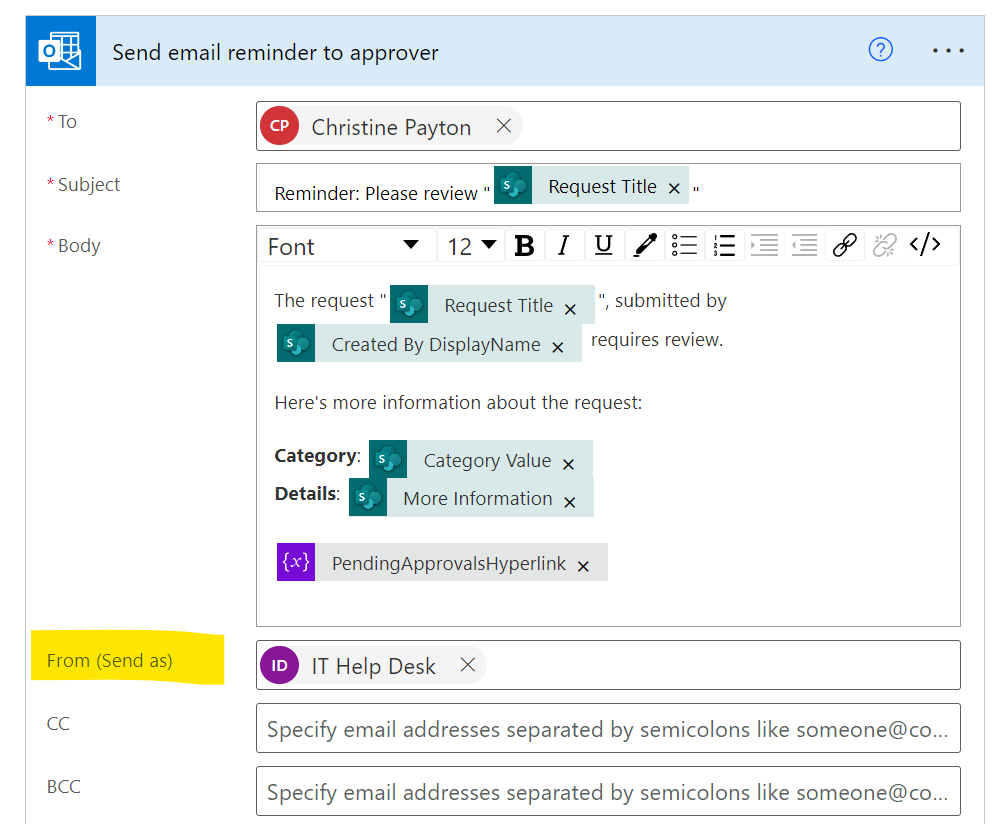
Add your shared mailbox in the “send as” field for email flows
Now that you’ve given your connection account permission on the mailbox, you can set the “send as” field in email actions to the mailbox. The email will send as if it is coming from the mailbox, and replies will also go to the mailbox without needing to configure the “reply to” field.
The “send as” setting is under the “show advanced options” link at the bottom of the “Send an email V2” action in this example:
Troubleshooting
If you’re setting this up all in one go, you might need to “re-jigger” some bits and pieces.
I ran into issues when going through the steps to create this post where I continued to get permission denied messages after adding permission for myself on the mailbox. I ended up swapping out the connection ownership and removing and re-adding the send-as box in the flow, and I’m unsure which of those fixed the issue or if it was just time-based, but just noting this in case anyone else experiences similar. 🙂
“The email is going to my personal outbox!”
This is by design, but you can adjust the behavior. This Reddit thread is the best source I’ve found for steps to copy the mail to the sent folder of the shared box.