When you’re working with Dataverse sources in Power Automate, there’s a few hoops you need to jump through – particularly when you’re working with lookup and choice-type fields.
When you insert a dynamic content card for a Dataverse choice field into an action, such as if you’re sending an email or approval and want to display the field values in the email text, it will insert the ID value for the choice option, not the actual text value you’d see in the dropdown. SharePoint will split out the label and the value into separate cards, but the Dataverse connectors are not quite so friendly.
The choice label is in the body output for whatever action “gets” your record data, there’s just not a card in the UI to insert it… so we need to write an expression to use it.
Step 1 – Get the back-end identifier for the choice label
We need to look in the flow run history to get this. In your flow, either your trigger or your “get item by ID” step for Dataverse will have an output when your flow runs. Look in the output there for your choice field – I find it easier to copy/paste the output into a text editor for readability.
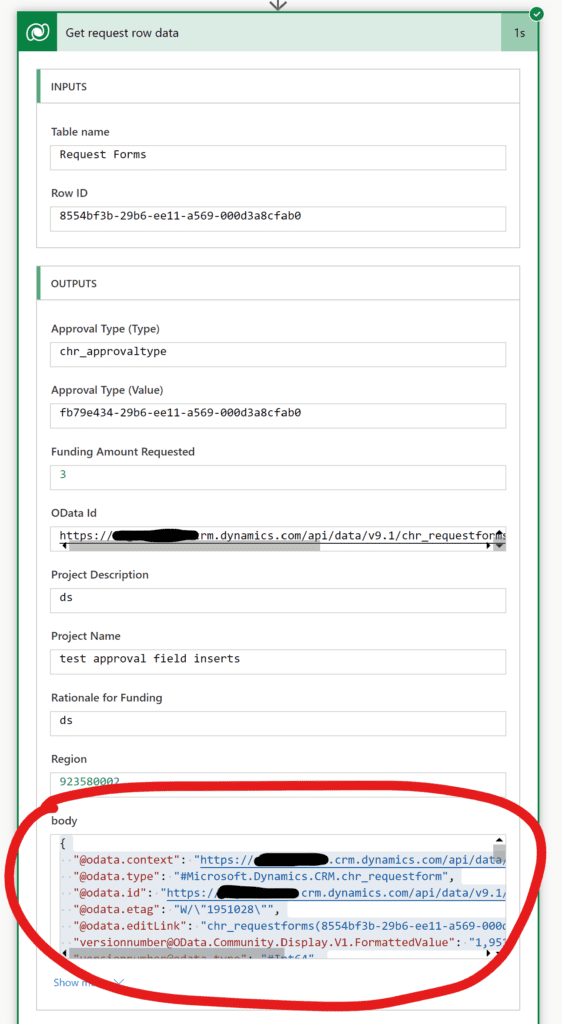
When I copy the body output, this is the field I want – I can tell because it has the text label associated with the dropdown option in the choice field. The one below it was the numeric ID.

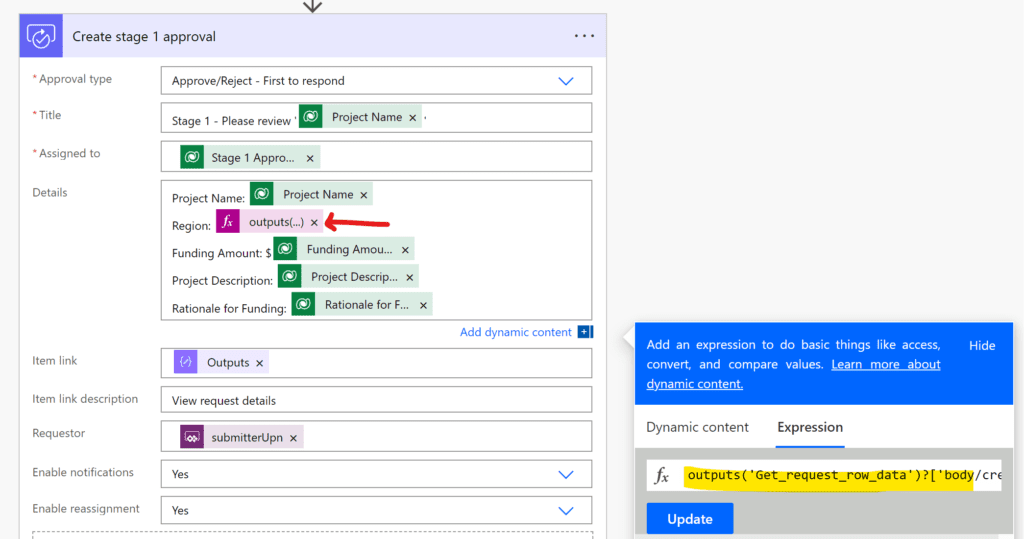
Step 2 – Insert an expression where you’d like to use the text label
Depending on where you are pulling the data from, your expression will vary – if you are getting the field from the flow trigger step, you’ll use TriggerBody(). If it’s from a different step (e.g. a “get row by ID”), you’ll use output() with the name of the step, replacing the spaces with underscores.
Data in trigger step:
Replace the part after the ‘body/’ with the field name you grabbed above.
triggerOutputs()?['body/_cre8f_region']Data in “get item” step:
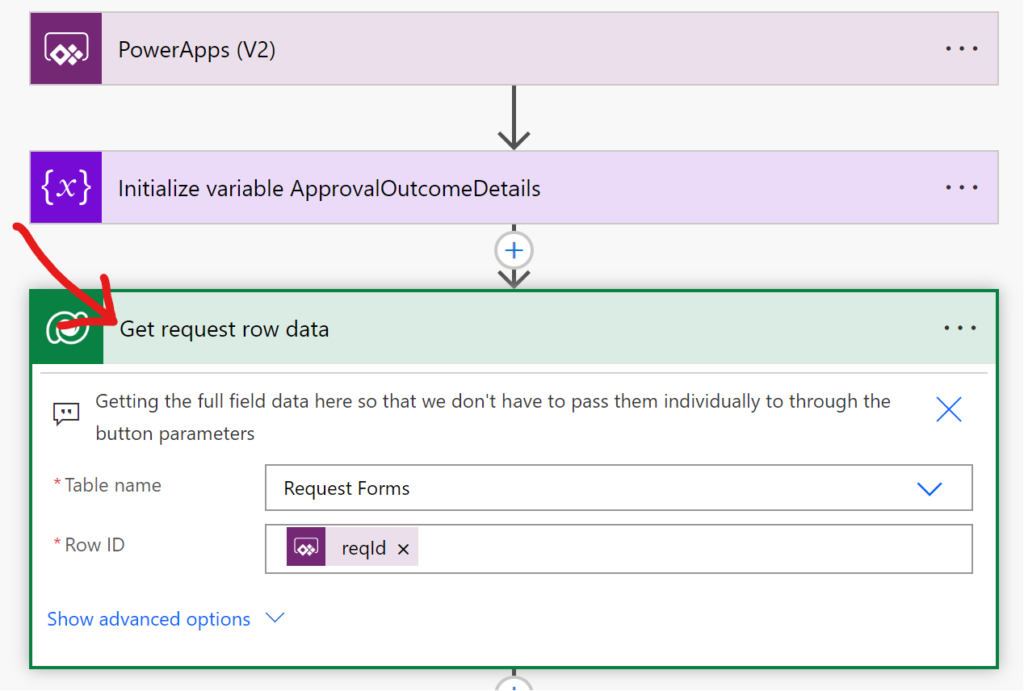
outputs('Get_request_row_data')?['body/cre8f_region@OData.Community.Display.V1.FormattedValue']In the second example above, I am getting data from a step that looks like this, for context (note the name of the action and how it’s used in the expression):
This expression can then be used wherever you want to display the choice text value. If you’re using it more than once, you can put it in a Compose action for convenience (I didn’t here):